


The embed page enables you to integrate a portal seamlessly into your website or documentation. You can maintain your existing website header and footer, ensuring a consistent user experience across your site.
Installation instructionsConfiguration
Section titled “Configuration”To customize the appearance of your embedded portal, go to Workspace > Settings > Page.
The page embed settings allow you to tailor the look and feel of the page to match your brand or audience. From the right-hand sidebar, you are able to change the title and subtitle, color scheme, locale and more.
Alternatively you can use the page properties below to specify the configuration via code.
Overwriting the UI settings
Section titled “Overwriting the UI settings”You can overwrite the configured styles and settings of the page by adding custom properties to the embed code. This allows for customizing the styling when embedding the page in different locations.
The properties are specified as attributes within the <released-page> custom HTML element.
Page properties
Section titled “Page properties”| Property | Description | |
|---|---|---|
channel-id | The ID of the release notes channel. | |
modules | Determines with modules to show on the page. Can be changelog , roadmap or all. Defaults to all. | |
header | Can be true or false. If false, the header with the title and description is hidden. This options allows you use an existing header or create a completely custom header. | |
cover-images | Determines whether the cover image will be shown. Can be true or false. | |
title | The title of the widget. | |
sub-title | The subtitle of the widget. | |
changelog-category | Limits the embed to display a single category. Use the category slug as the value. For example: The slug for “New Features” would be new-features . | |
color-scheme | The color scheme to use for the widget. Can be system, dark, or light. See configuring-dark-mode.md for more details. | |
color-primary | The primary UI color. Can be hex, hsl, rgb, or css color name. | |
top-offset | Expects a number (eg. 100) or false as values. A value of 100 will create an offset of 100 pixels from the top for sticky titles. A value of false will disable sticky titles. | |
z-index | The z-index to use for the widget. | |
locale | The locale to use for the page. Can be:
| |
refresh | If you want to reduce how often the embed checks for updates, you can set refresh=“5m”. This limits update checks to at most once every 5 minutes.Supported values: Xs, Xm, Xh, Xd |
Notification badge
Section titled “Notification badge”To notify users about the availability of a new post, you can enhance the user experience by incorporating a notification badge on the link or button leading to the announcement page. This badge functions similarly to the notification badge found in the widget.
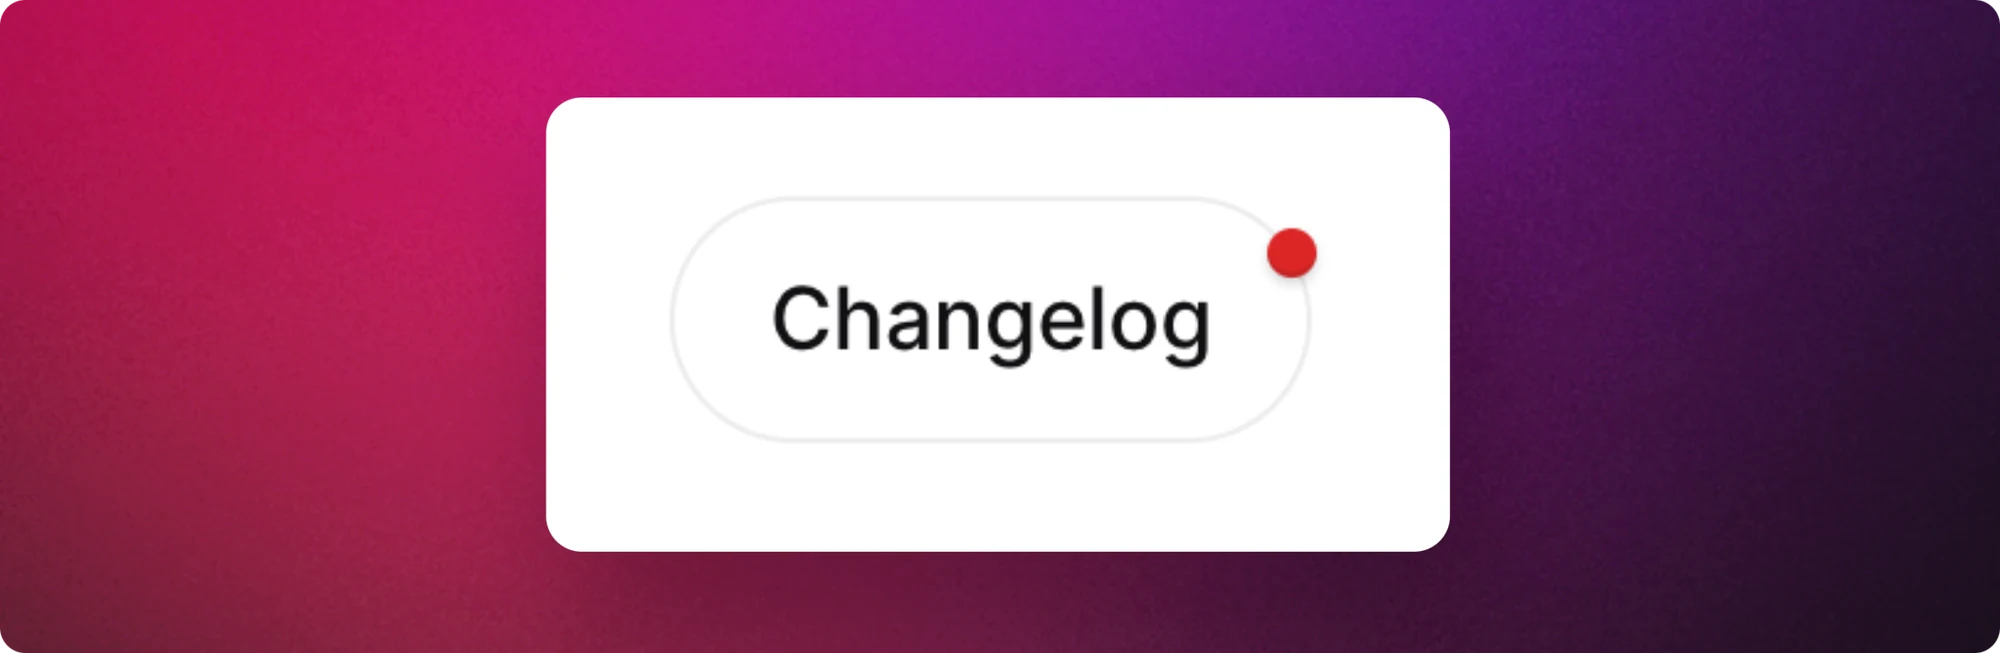
Installing the badge
Section titled “Installing the badge”Follow the Installation instructions and copy the code for the badge.
It’s best to place the <release-badge> element inside the <a> tag when adding the badge to a link.
<a href="/changelog" class="nav-link">What's New? <released-badge channel-id="CHANNEL_ID"></released-badge></a>Adjusting the position of the badge
Section titled “Adjusting the position of the badge”You can adjust the position of the badge by styling it with CSS. We recommend two options:
- Use the margin property to adjust the position
- Use the transform property to adjust the position
<style>released-badge { margin-top: -8px; margin-right: -8px; // example with margins transform: translate(50%, -50%); // example of transform}</style>Experience a demo of the page embed on CodePen.