


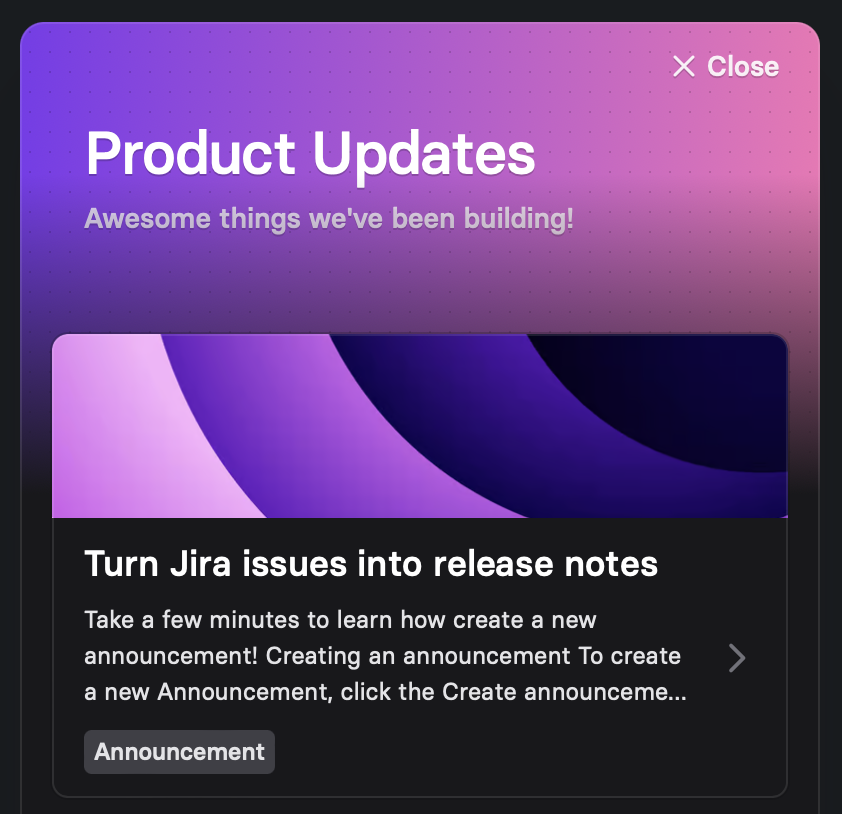
Installation
Section titled “Installation”To add the widget to your site or app, copy the following code snippet into the <head> element. This script needs to be present on every page where you might want to show the widget.
<script src="https://embed.released.so/1/embed.js"></script>Next, add the released-widget custom element to the <body> of the page. The widget will not be rendered inline, so it does not matter where in the body you position the element. Ensure you replace “CHANNEL_ID” with the id of your release channel.
<released-widget channel-id="CHANNEL_ID"></released-widget>To add the widget to your website or app, copy the following code snippet into the <head> element. Replace the [PROJECT_ID] placeholder with the ID found in your widget configuration.
<script type="application/json" id="released-widget-props"> { "chid": "[CHANNEL_ID]", "title": "Changelog", "subTitle": "New updates and improvements.", }</script><script src="https://embed.released.so/1/widget.js"></script>The above code snippet contains two script tags. The first tag contains the configuration properties for the widget, and the second tag loads the widget.
The available configuration options are described in the following section.
Configuration options
Section titled “Configuration options”Customize your widget to match your brand and app design using the widget properties. Adjust the title, description, colors, positioning, and trigger settings according to your preferences.
The properties are expressed in JSON format and contained in a script tag with the id="released-widget-props".
<script type="application/json" id="released-widget-props">Experience a demo of the widget on CodePen.